The basics of at-home ski tuning
December 19, 2008 —
Imagine riding a bike all day with brakes that rubbed against your wheels. No way, you say? Well, while the impact may not be as significant, that’s essentially what you’re doing when you hit the slopes with a pair of poorly tuned skis.
Dull edges and base irregularities are winter’s version of bad bike breaks, slowing down your skis and even effecting the way you get down the hill.
The good news is that with a little up front investment, practice and elbow grease, you can set up an at-home ski tuning operation that will make your skis perform better, and bridge the gap between trips to the ski shop, where basic tunes typically cost $30-$40 or more.
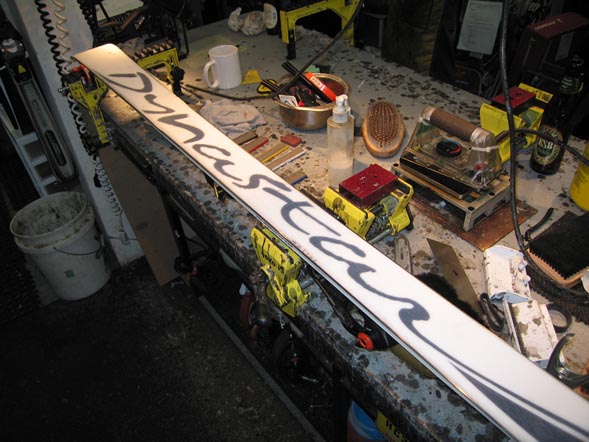
First you’ll need to figure out a way to secure your skis. Companies such as Sun Valley Ski Tools and REI offer an array of ski-specific vises that will attach to a work bench or table. Expect to spend at least $100.
If that’s more than you want to spend, pick up a pair of wooden sawhorses, then cut out vertical slits in each that will accommodate your skis when working on the edges. Next staple some old carpet to the top. This will keep your boards from sliding around too much when addressing the bases.
Other essential tools include a file, file guide, spring clamp, whetstone, diamond stone, iron, wax, wax scraper, brass brush and a pair of thick rubber bands to pull your brakes out of the way while you’re tuning.
Again, you’ll find ski-specific offerings for all this gear, but in some cases it may be cheaper to check out the hardware store first. A regular household iron will usually do the trick. Just make sure to get one without holes in the bottom.
A hardware store file can also work, but make sure it’s made of hardened chrome. Otherwise it won’t last very long.
Once you’ve got the tools, it’s time to tune. Just remember that the involved skills can’t be learned overnight. Indeed, ski tuning is both an art and craft that takes lots and lots of practice.
For Front Range skies, a great way to jumpstart the learning process is by attending one of the twice-weekly free clinics offered at Boulder’s Alpine Base and Edge tuning center on 15th Street. Every Tuesday and Thursday at 6 p.m. attendees get the chance to learn the basics as well get some expert tips.
To sharpen your edges, start with the base edge using a 1-degree file guide. Remember to always point the file’s tang in the opposite direction you’re filing, go in the same direction and use long even strokes. And don’t file too much edge off or you’ll shorten the life of your skis.
Now move to the side edge, first making sure that you’re getting good edge contact. If your file is gumming up with sidewall material, you first need to take down the sidewall, which requires another specialized tool.
When filing the side edge, a 1-degree angle is standard, but more advanced skiers may prefer 2 or even 3 degrees. Whichever you choose, always pull the file toward you, and remember that once you set the angle you can’t go back without grinding down the base, which shortens the life of the skis.
Finally, grab your two polishing stones and smooth out any remaining rough edges. You’ll know you’re on the right track when the gritty rubbing noise disappears.
When it comes to waxing, start by choosing an appropriate wax for the snow conditions you’ll encounter. For Colorado skiers, Alpine Base and Edge owner Peter Hill Boyer recommends a combination of Toko molybdenum wax and Toko System 3 red hydro-carbon, which is designed for temperatures between 14 and 25 degrees. The molybdenum helps beef up your base; the temperature-specific System 3 provides glide. (There are also wax options for warmer or colder days.)
Before applying new wax, brush out all the old. This opens the pours on the base of your skis, making them better able to absorb the new wax. Once your work surface is clean, use the iron to melt and spread the new wax. Then scrape and brush off all the excess. Only the wax that’s fully absorbed into the skis makes you faster.
[Editor’s Note: This story originally appeared in the Boulder Daily Camera newspaper.]
![]() Comment on "The basics of at-home ski tuning" using the form below
Comment on "The basics of at-home ski tuning" using the form below


